
Fabtac Instructions
Follow these simple instructions for Fabtac applicationPlease view our instructional video for how to apply Fabtac.
For a recap of the step by step instructions in the video, please see below.
Step 1:
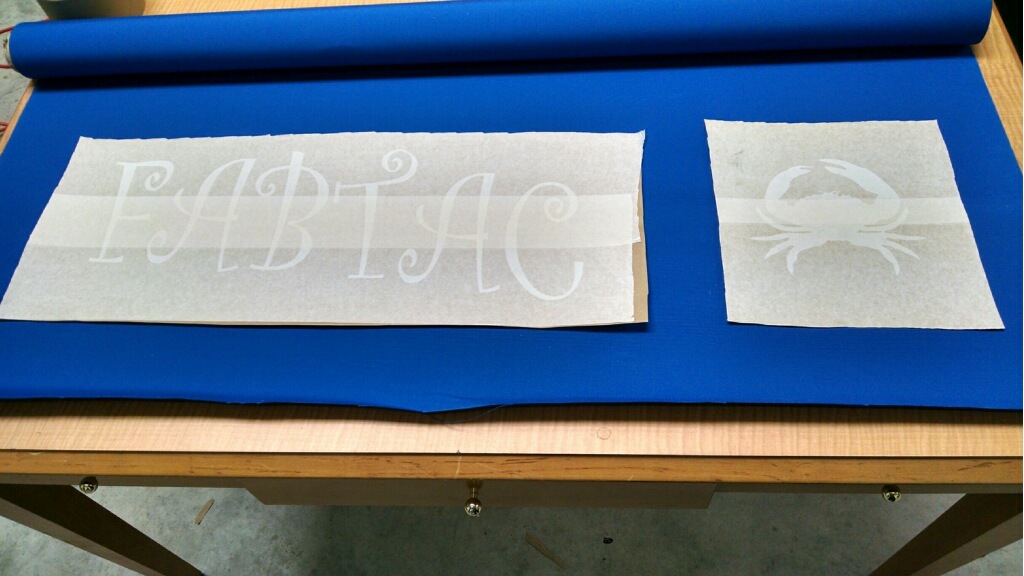
After cutting the Fabtac product on your pinch wheel vinyl cutter, reverse weed the image. Apply “High Tac” pre-mask tape to the top side of the stencil.
Step 2:
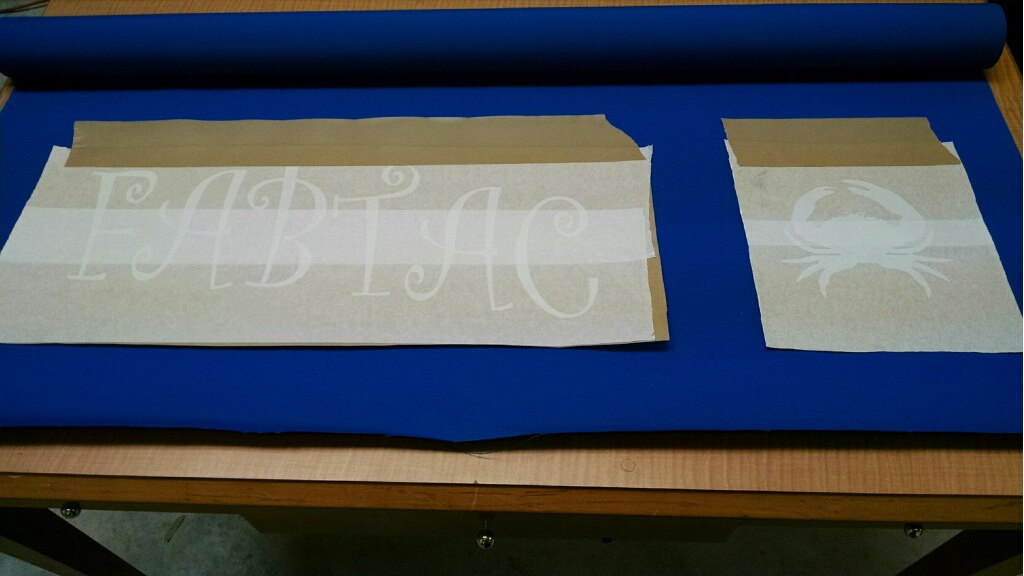
Place stencil on fabric and apply masking tape to the top edge to align stencil as desired. Then, lift stencil and peel off the backing.
Step 3:
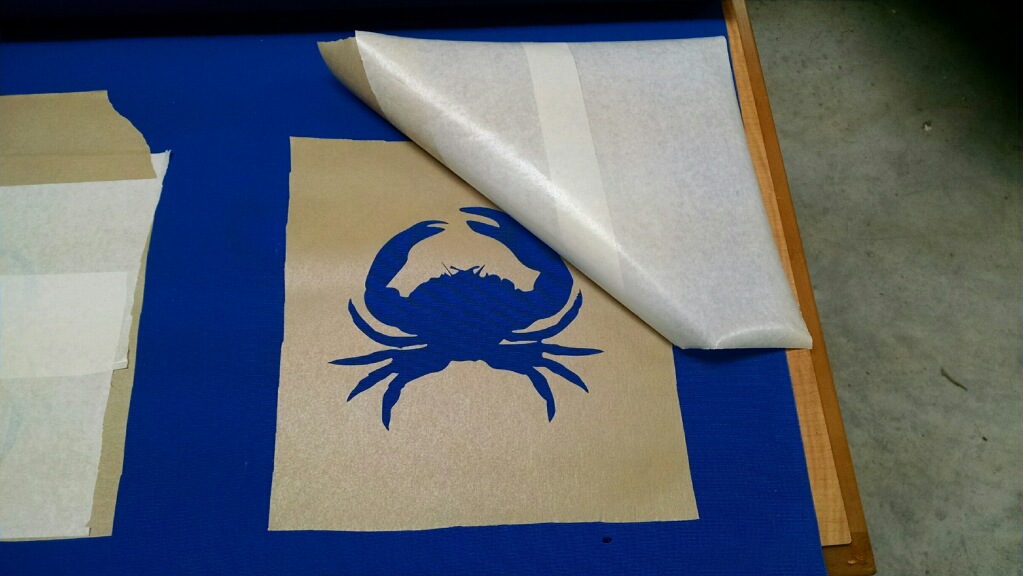
Turn on your household iron to the appropriate temperature setting for the fabric being used. Gently iron on the stencil making sure to press down while ironing. Do not leave iron in one location. Be careful! Too much heat or too long in one area may damage the fabric. After ironing the stencil, squeegee the warmed stencil firmly and then remove the pre-mask tape.
Step 4:
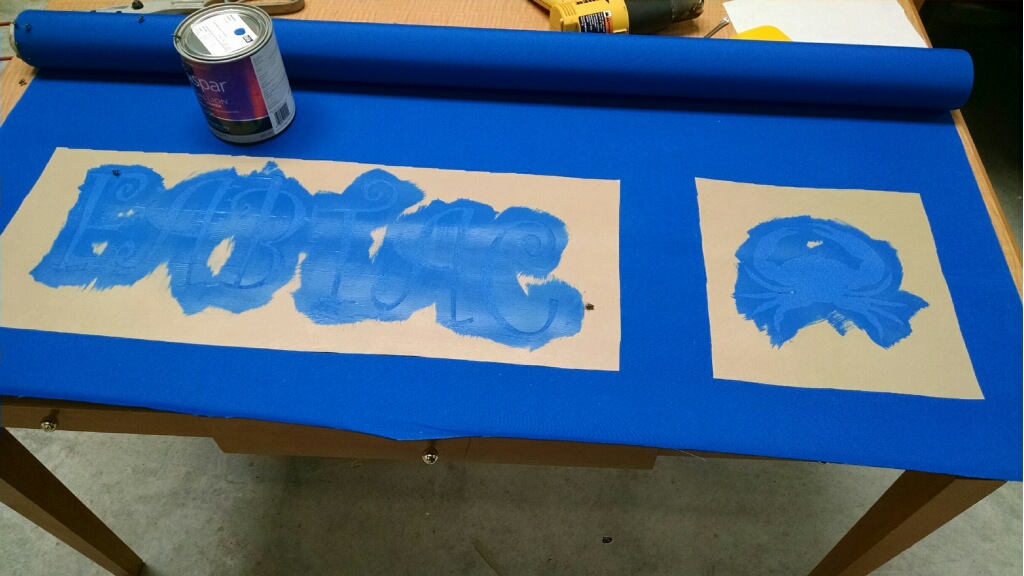
Using the same color of paint as the fabric, brush on the first paint coat using inward strokes. The paint color does not have to be an exact match, something close is fine. FAN DRY the paint until it is dry for approximately 20-30 minutes.
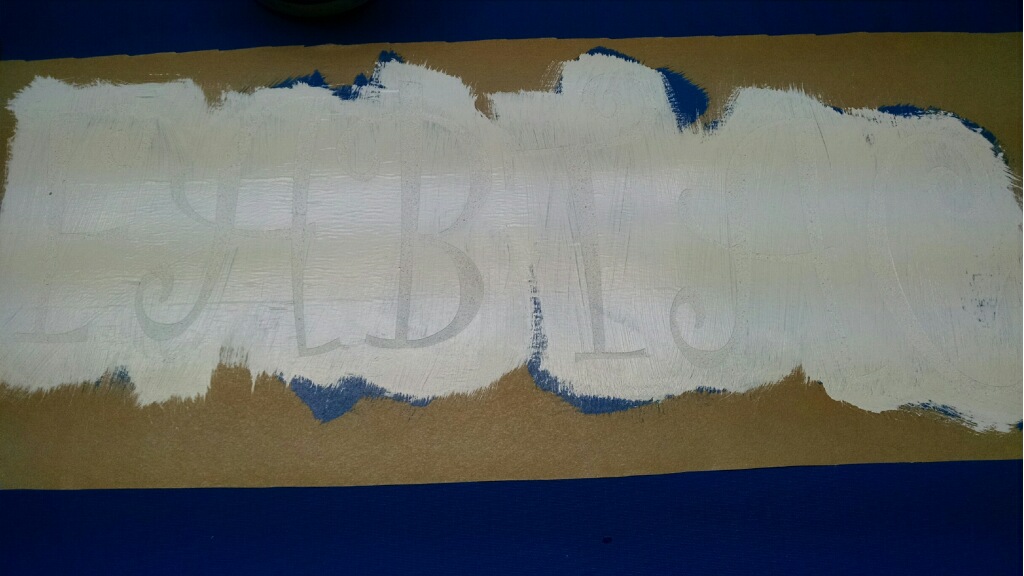
Step 5:
Now, using your desired color, paint the two of three finish coats, and again FAN DRY the paint until dry.
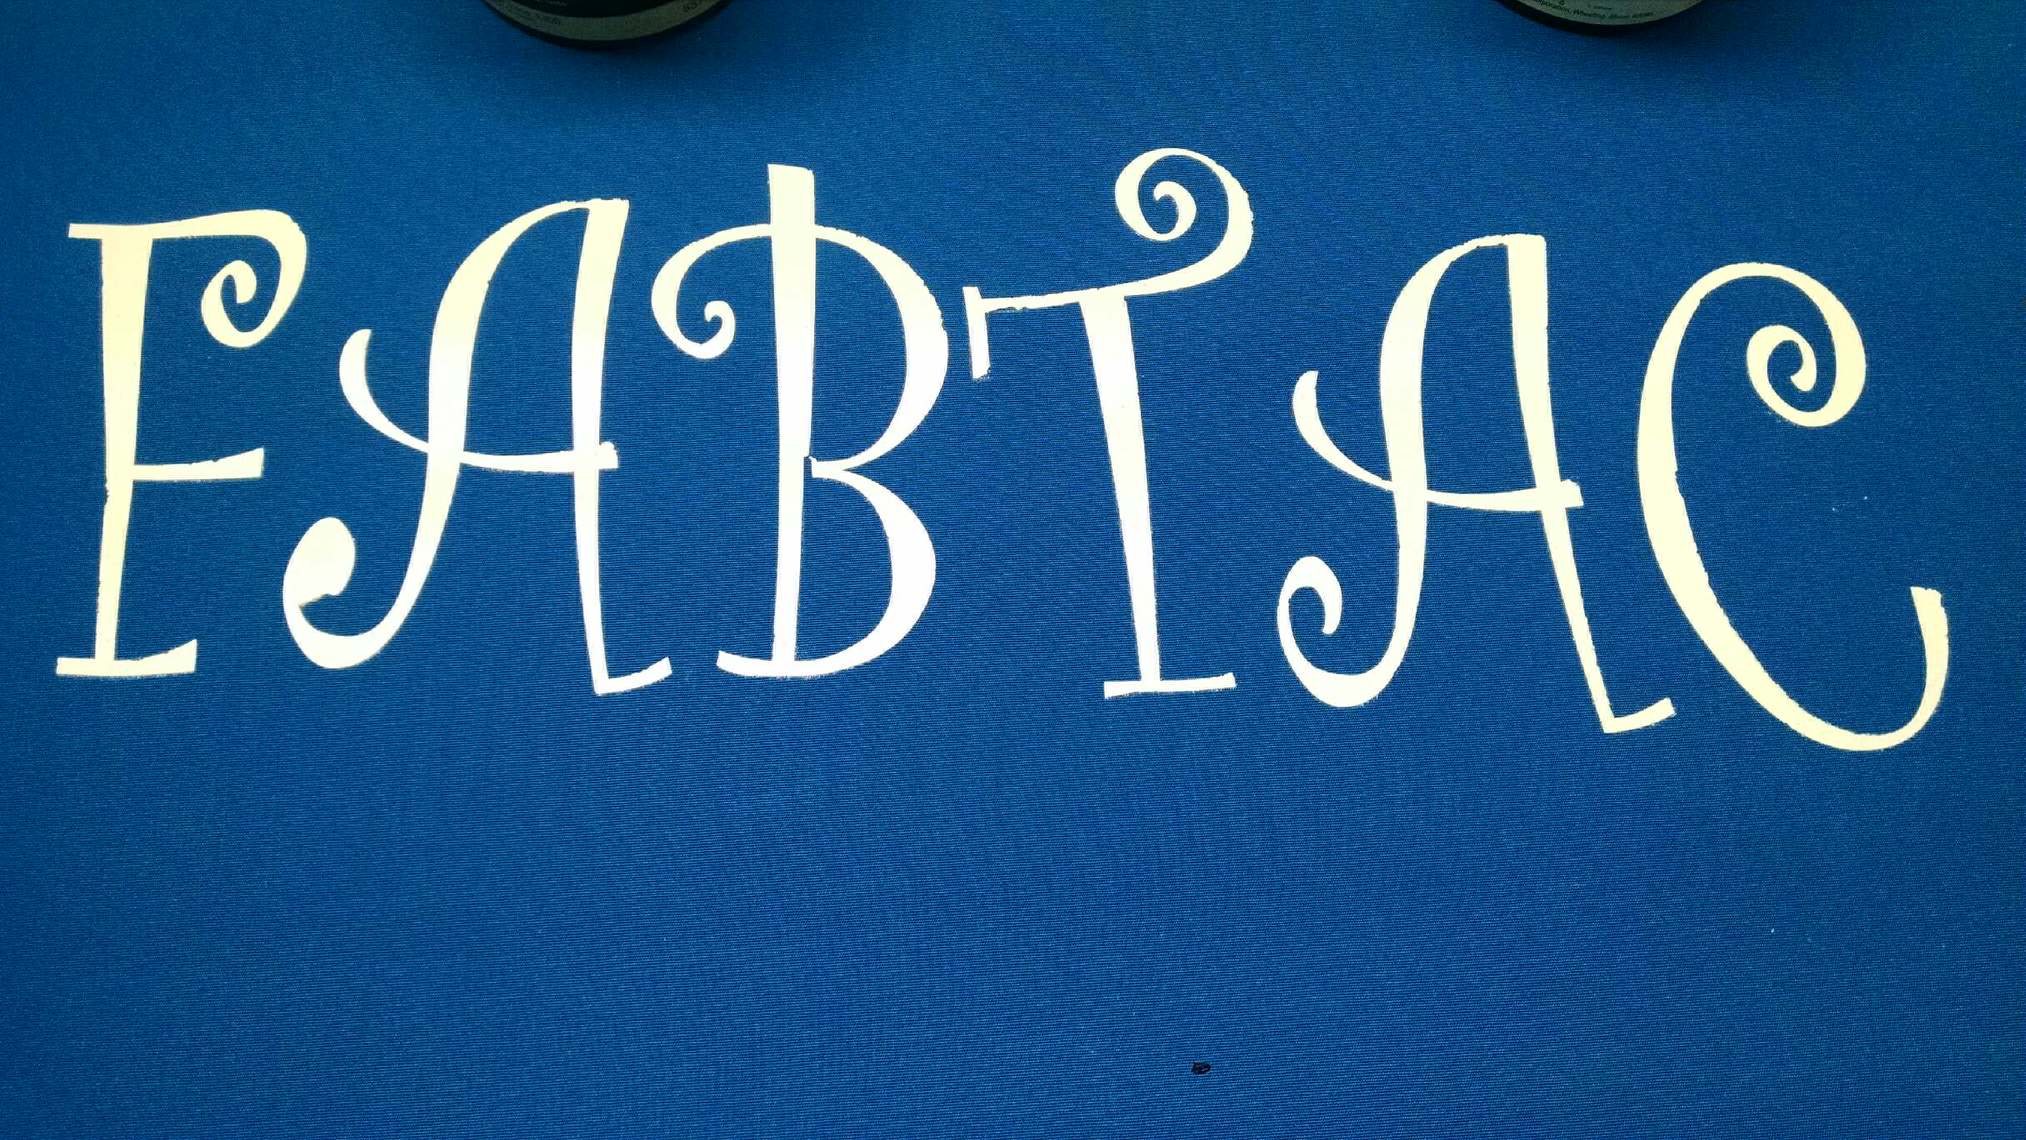
Step 6:
After painting on the third and final coat of paint, peel the stencil away while the paint is still wet in order to minimize edge chipping.

Helpful Tips:
- Use a quality “High Tac” application tape such as R Tape Conform 4075 RLA or its’ equivalent.
- DO NOT use OIL BASED PAINTS or INKS on the new version of fabrics
- Use 100% Acrylic Latex House Paint, exterior mid gloss or Latex enamel high gloss
- Only use top named paint brands
- Pre-mixed colors work the best
- Do not use OLD paint
- If bleeding occurs, use paint from Step 4 to touch up the edges with a fine point artisan brush
- Fabtac is for use on woven fabrics
- Don’t let your stencil sit in a high humidity environment for an extended period of time
- Fabtac Stencil is for use for pinch wheel vinyl cutters only.
- Never leave Fabtac in the cutting machine after you’re done. Always rewind the roll, wrap it tightly in cling wrap and store in a cool, dry place.
- When applying Fabtac to fabric already mounted on an awning frame, be sure to support the fabric with something solid behind it (like Masonite for example) or the Fabtac will not adhere correctly.
- Please remember the adhesive stencil is the brown side, the “release liner” is the white side. There is NO ADHESIVE on the release liner.
-
Never back fold Fabtac on itself.